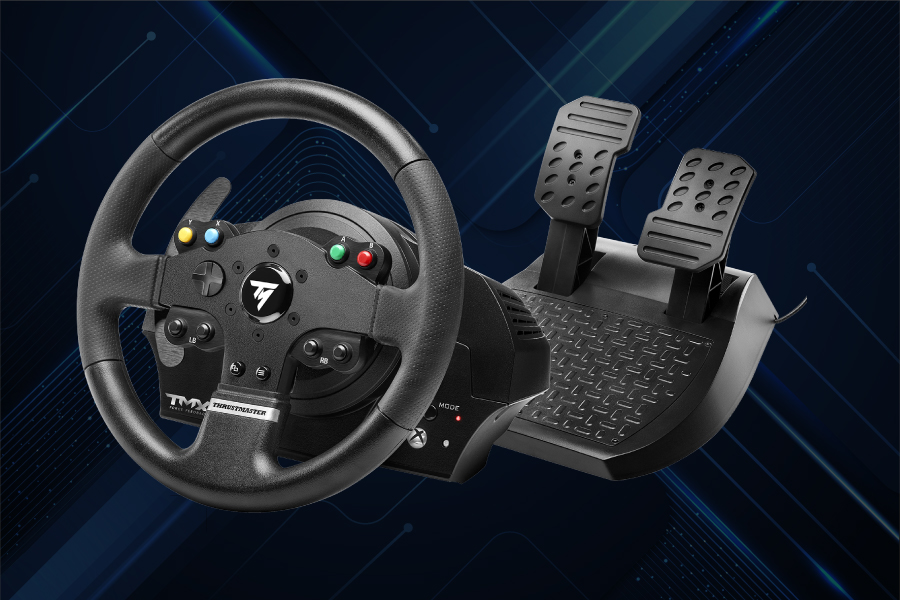
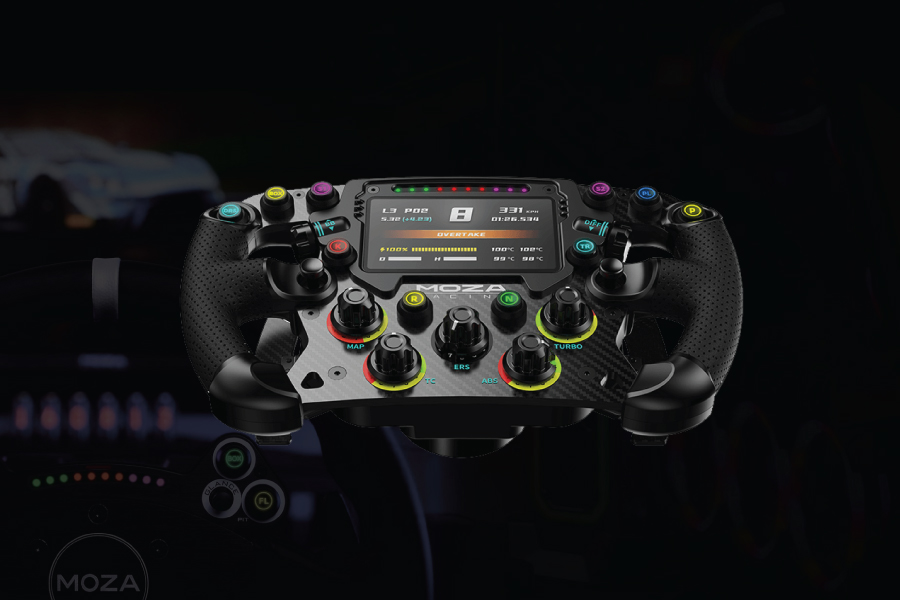
The Thrustmaster TMX is a popular force feedback racing wheel designed for Xbox and PC gamers seeking a robust entry-level option. This wheel offers a blend of performance, compatibility, and price that makes it a compelling choice for those new to sim racing or looking for a budget-friendly upgrade. Here’s a detailed review of the Thrustmaster TMX’s features, performance, and overall value.
Design and Build Quality
The TMX features a compact, ergonomic design with a 28 cm diameter wheel rim wrapped in rubber for a comfortable grip. The construction is predominantly plastic, which keeps the cost down while still providing a durable feel. The wheel includes two large, metal paddle shifters and all the standard Xbox buttons, making it fully functional for a wide range of racing games.
Compatibility
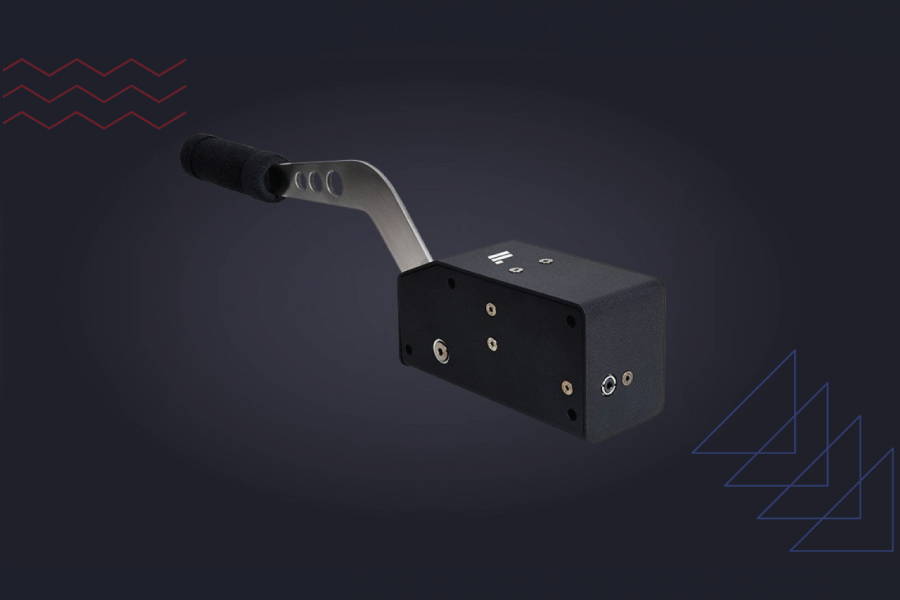
Designed with versatility in mind, the TMX is compatible with all Xbox One models and Windows PCs. It uses a USB connection for easy plug-and-play capability, making it simple to switch between systems without requiring additional adapters. The TMX also integrates well with the Thrustmaster ecosystem, including various pedal sets and shifters, providing a path for upgrades in the future.
Setup and Usability
The assembly of the TMX is straightforward:
- The wheel mounts securely to a table or racing rig using a robust clamping system.
- The standard pedal set that comes with the wheel includes brakes and accelerator and is designed to be floor-mounted.
Setting up the TMX involves minimal steps, and its user-friendly design is ideal for beginners. Calibration and software installation are also hassle-free, thanks to Thrustmaster’s intuitive driver interface.
Performance
The TMX is equipped with a hybrid belt and gear drive mechanism, which offers a smoother and more realistic force feedback experience than gear-only systems. The force feedback is responsive and provides good resistance, allowing players to feel the nuances of the road and handle detailed driving dynamics.
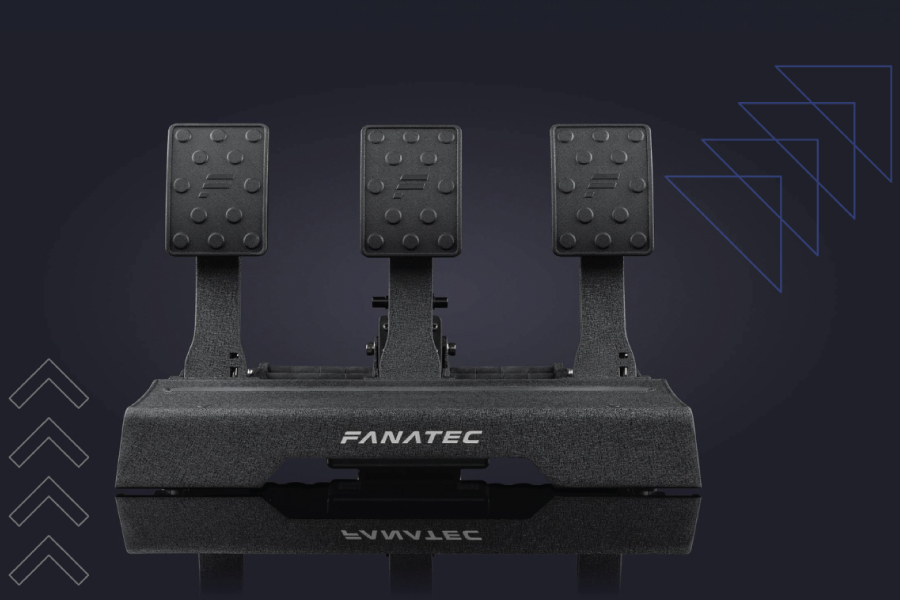
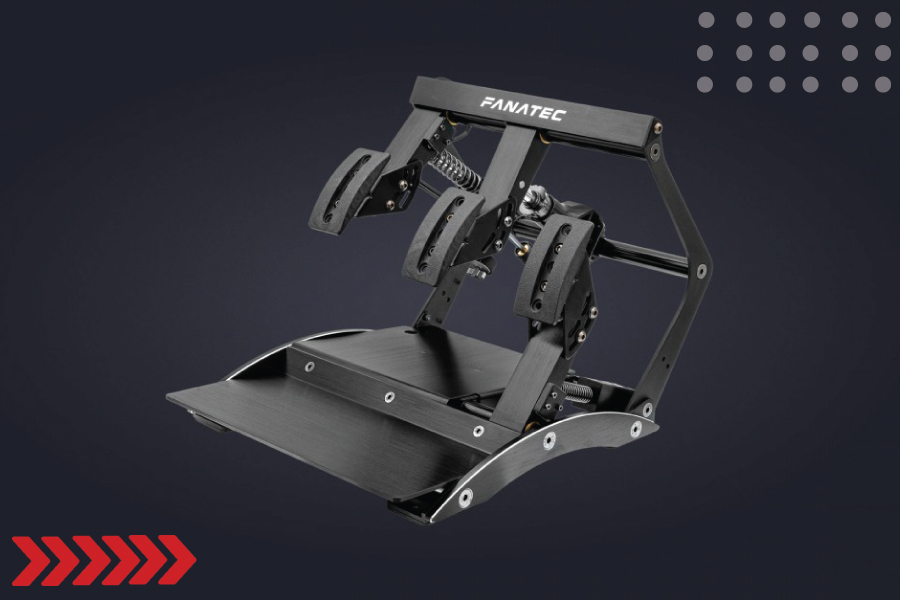
Although the included pedal set is basic, it performs adequately for new drivers. However, more experienced racers might find the need to upgrade to a more advanced set with a clutch and more durable construction for a complete racing experience.
Software and Features
Thrustmaster’s drivers and firmware consistently receive updates, which enhance the wheel’s compatibility and performance across a growing library of racing games. The software allows for detailed adjustments to wheel sensitivity, force feedback strength, and other settings, which can significantly enhance the gaming experience based on personal preference or the specific demands of different racing titles.
Thrustmaster TMX Assembly Guide
Tools Needed:
- None. All necessary components for basic assembly are included in the box.
Step 1: Unboxing and Parts Verification
- Unbox your Thrustmaster TMX and lay out all components. This typically includes the wheel unit, a pedal set, a power supply, and a USB cable.
- Check the parts list in the manual to ensure you have everything needed for assembly.
Step 2: Mounting the Wheel
- Choose an appropriate surface: The wheel needs to be attached to a stable surface such as a desk or a racing cockpit.
- Attach the wheel: Use the built-in clamping system to secure the wheel to the edge of the surface. Adjust the clamp using the hand screw until the wheel is firmly in place. Ensure the clamp is tight enough to prevent any movement during use, but not so tight as to damage your furniture.
Step 3: Setting Up the Pedals
- Place the pedals: Position the pedal set on the floor in a comfortable spot where you can easily reach them with your feet. If the floor is slick, consider placing a mat or some other stable surface under the pedals to prevent them from sliding.
- Connect the pedals to the wheel: Use the provided cable to connect the pedal set to the base of the steering wheel. Ensure the connection is secure and the cable is neatly arranged to avoid any accidental disconnections or tripping hazards.
Step 4: Connecting to Power and PC/Console
- Connect the power adapter: Plug the power supply into the wheel base and then into an electrical outlet. Ensure the power switch on the base is off while doing this.
- Connect to your gaming system: Plug the USB cable into the wheel base and then into your PC or Xbox console. Make sure the USB connection is secure and the cable is not in a position where it can be tripped over.
Step 5: Software Installation and Calibration
- Install drivers (for PC): If you are using the wheel with a PC, download and install the necessary drivers from the Thrustmaster website. This will ensure the wheel operates correctly with your computer.
- Calibrate your wheel: Follow the instructions in the manual or on-screen prompts to calibrate the wheel. This usually involves verifying the wheel’s full range of motion and ensuring that the pedals are responding correctly.
Step 6: Final Adjustments and Testing
- Check all connections: Make sure everything is tightly secured and correctly set up.
- Test the setup: Power on the device and perform a test run with a racing game to ensure all components are working harmoniously. Adjust the wheel and pedals to your comfort, and tweak settings in the game or the Thrustmaster software to optimize your racing experience.
By following these steps, you should have your Thrustmaster TMX setup and ready for action quickly. Regular maintenance, such as checking the tightness of the clamp and the responsiveness of the pedals, will ensure your equipment remains in good working order. Enjoy your racing adventures!
Conclusion
The Thrustmaster TMX is a solid choice for anyone looking to get into sim racing or upgrade from a non-force feedback model. Its combination of good build quality, excellent performance, and affordability makes it especially suitable for beginners and intermediate players. With the ability to expand and upgrade components, the TMX offers a great starting point and growth potential within the Thrustmaster ecosystem, making it a worthy investment for serious racers on a budget.


